Drawing with daylight
The size of a window is only one part of the drawing. Its reveal, surroundings and position determine where the light will be useful.

· 2 min read
Follow the light into the room
Two windows with the same area of glass can produce very different interiors. A deep reveal, an overhang or a building opposite changes what the opening receives. A glazing schedule will not show those relationships; a section through the room and its surroundings can begin to explain them.
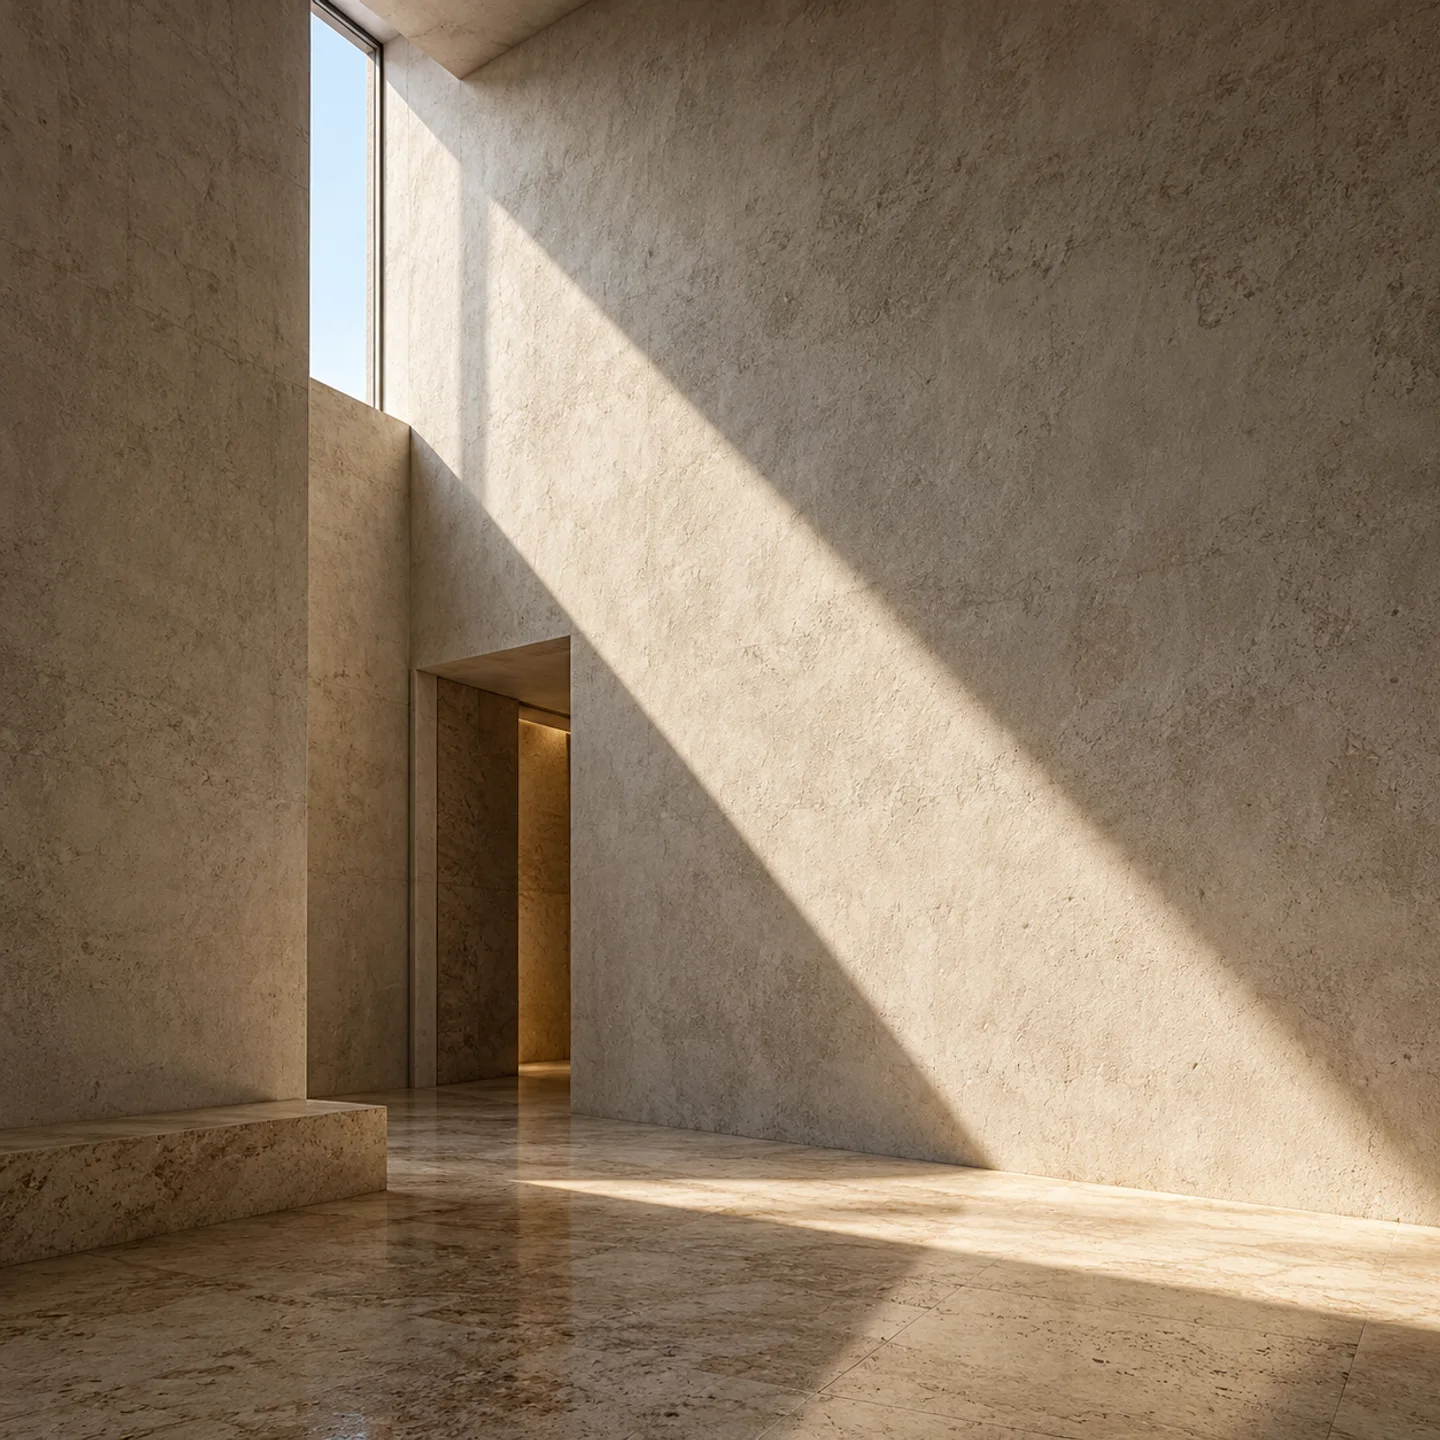
The illustration uses a high opening and light crossing a textured wall. It is a useful way to examine the wall’s depth and finish, but one sunlit view says little about the rest of the day. The darker corner, the view from a seated position and the room in overcast weather need attention as well.
Where the desk goes
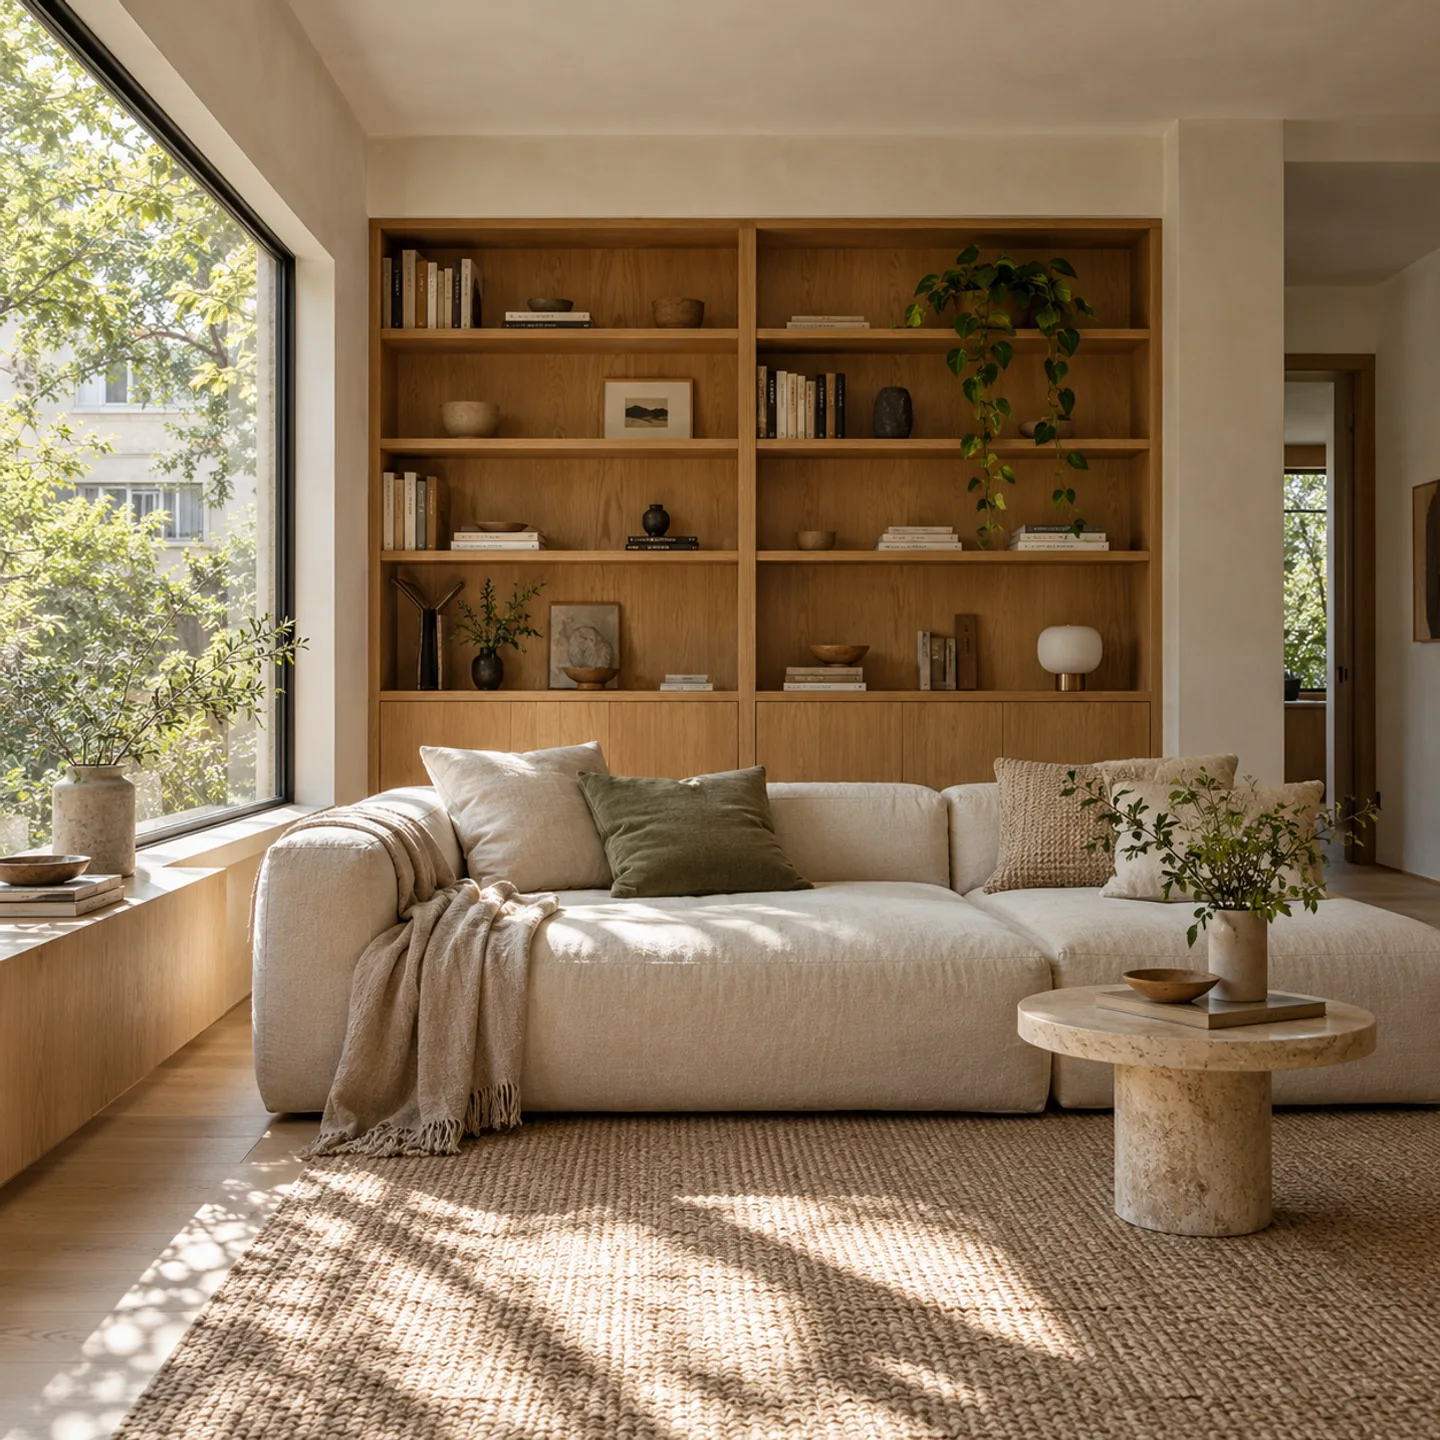
The most striking patch of sun may fall exactly where someone wants to work. A screen placed against a bright window can be difficult to read; moving the desk may solve a problem that a larger blind would only partly address. Furniture belongs in the daylight study from the beginning.
Surfaces add another variable. A polished sill can throw a sharp reflection across a room, while a matte finish produces a different effect. Looking at a sample beside the intended opening helps reveal behaviour that a small swatch under showroom lighting cannot show.
A record that can be compared
For a room that can be visited, photographs become more informative when they include the time, weather and direction of view. Return to the same position later in the day. Avoid comparing a heavily brightened image with an unadjusted one and calling the difference a change in daylight.
Include a view with the shading in use. If the only comfortable way to occupy a desk is to close a blind, the drawing should show what remains of the room’s light and outlook in that state. The blind is part of the design, not an interruption to the photograph.
Maya Linwood
Maya looks at rooms from both sides of the window, connecting furniture and daylight with the trees, terraces and gardens outside.
About the contributor